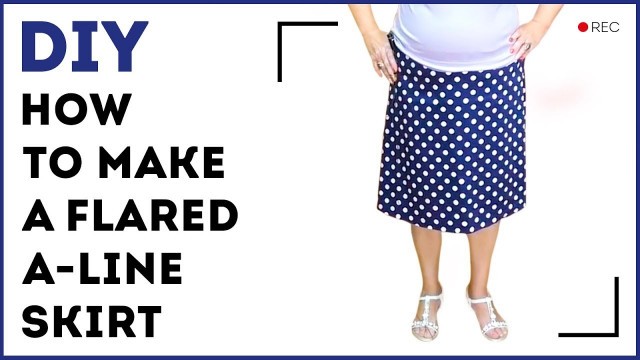

'Today we\'ll be talking about skirts. We\'ll make a flared skirt with the closed tucks. I recommend you to buy our course on the 10-measurement cutting system to make a basic pattern. You can use any other basic pattern, though. Today we’ll be working with an A-line skirt. When making A-line skirts some people make them straight at the font and at the back and add some to the sides. I see a lot of such skirts in the shops. I want to make a real A-line skirts with the even round flare. There is just one right way to do it, which is not used nowadays, I don’t know why. So today I’ll tell you about the design from the past. I’ll show you how to change a pattern of a straight skirt an A-line skirt. I’m making a flared skirt with the bias tucks, so I draw the straight lines down from the ends of the tucks. I think you’ll like the design and will make a lot of such skirt for yourselves. I’ll show you how to make a very nice flare. My body is pretty much straight, so the tucks are not big and the flare won’t be too big neither. The skirt will fit me perfectly! The tucks will be closed, but they were designed accurately, so I’ll get the same close fit as in the original pattern. Be very attentive. The skirt won’t have a seam at the centerback. The centerback and centerfront will be on a grain. Remember the any flared skirt requires either the narrow overcast or welt. You can’t overcast too much in a flared skirt. Make either a narrow overcast or wide welt. You’ll get an item of a very good quality. Flared skirts with the closed tucks used to be very popular. I don’t know why people stopped sewing them. I’ll tack the skirt for you to see how nice it is, then I’ll remove the tacking and cut out absolutely the same cambric lining. I think it’s not right to make the skirts without a lining. Some people say that they don’t want to wear the skirts with linings in summer, but I tell them that in summer we need a lining more than at any other time. Practice and experiment. I am up for experiments. I tack the right side till the end, and I’ll leave an opening for a zipper on the left side. I want to be able to put a skirt on. When you are making a skirt for yourself, try to make a perfect side seam. It should be natural. Look at your body in a mirror and make it. The lines of our bodies are smooth. If you measure everything accurately, you’ll get the even sides. I don’t even know what I should do to make a skirt or a dress with the different sides. It never happens to me. It takes just 10 minutes to cut and tack a skirt. It will take you a bit more to stitch it, but not too much. You’ll need to stitch the side seams, attach the zipper, make an overcast and process the edges – it’s up to you how to do it. Write the comments! We work hard to prepare the lesson for you. My name is Paukshte Irina. Subscribe to my channel!'
Tags: pattern , skirt , sewing tutorial , paukshte , paukshte fashion workshop , skirt pattern , Flared skirt , A line skirt , flared skirt pattern , plus size a line skirt , how to make a line skirt , how to sew an a line skirt , how to cut a line skirt , how to cut flared skirt , how to make flared skirt , pattern for a line skirt , a line skirt tutorial , making a flared skirt , a line skirt pattern , diy a line skirt , flared skirt tutorial , easy a line skirt , sew a line skirt , diy flared skirt
See also:


!['[The Fashion Showcase ] Mesa the Cowgirl'](https://cdn-img01.4kfashionchannel.com/images/57-m/900/900543_m.jpg)


!['Top 10 Hunting Vest Orange [Men Fashion Winter 2018 ]: H2H Men\'s Durable Reversible Outdoor Casual'](https://cdn-img01.4kfashionchannel.com/images/57-m/148/1484334_m.jpg)


comments